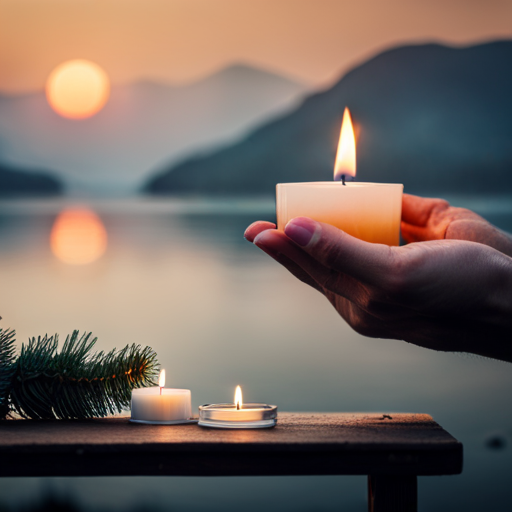
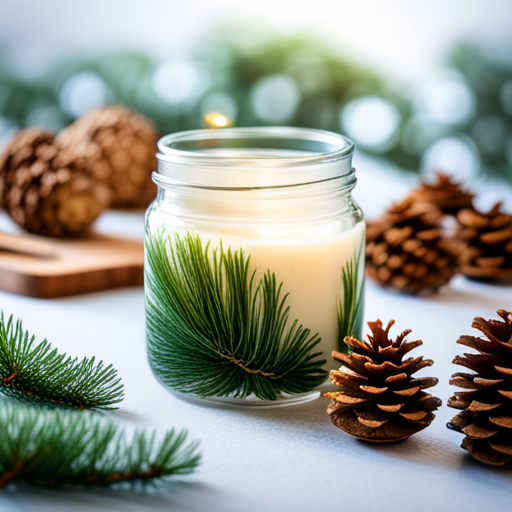
In this article, we’ll show you step by step how to make a beautiful candle that will fill your space with the delightful aroma of pine. You’ll have control over the scent intensity, save money, and ensure safety compared to store-bought candles.
Get ready to unleash your creativity and enjoy the satisfaction of making your own personalized pine scented candle.
Key Takeaways
– Control the scent intensity and customize the fragrance of your pine scented candle.
– Save money by making your own candle instead of buying one.
– Ensure safety by using beeswax or soy wax for your homemade pine candle.
– Enjoy the personal satisfaction and fulfillment of creating your own candle.
Benefits of Making Your Own Pine Scented Candle
https://www.youtube.com/watch?v=fDUuEDoXX24
You can control the intensity of the fragrance when you make your own pine scented candle. One of the main benefits of DIY candles is the ability to adjust the scent to your liking. Whether you prefer a subtle hint of pine or a strong aromatic experience, it’s all in your hands.
By using different amounts of pine scented oil, you can create a candle that perfectly suits your preferences. This customization allows you to create a candle that truly enhances the ambiance of your space.
Step By Step Guide to Making a Pine Scented Candle
Start by gathering all the necessary equipment for making your own pine-scented candle. You’ll need a pot, wooden sticks, candle wicks, scissors, jars, soy wax chips, green dye, pine-scented oil, and heatproof bowls.
Once you have everything ready, it’s time to start making your candle. Heat and melt the soy wax chips in a pot, then let it cool for a few minutes.
Next, mix pine-scented drops into the melted wax and divide it into two bowls. Add green dye drops to one of the bowls for a vibrant color.
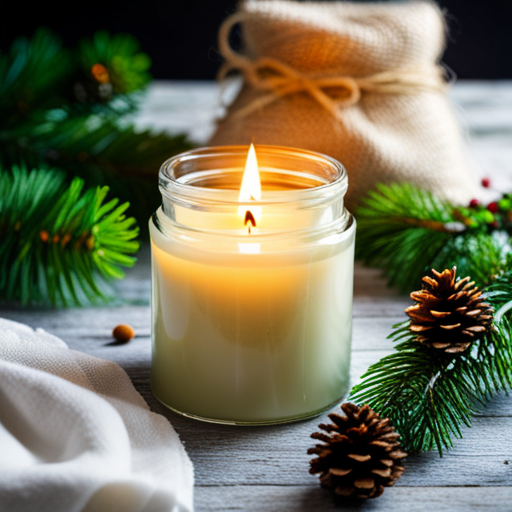
Place the wick in the candle jar and pour alternating layers of white and green wax. Let the candle sit for a day before lighting.
With these simple steps, you’ll have your very own pine-scented candle to enjoy!
Equipment Needed for Making a Pine Scented Candle
Gather all the necessary equipment, including a pot, wooden sticks, candle wicks, scissors, jars, soy wax chips, green dye, pine scented oil, and heatproof bowls, to make your own pine scented candle.
Here’s what you need to know:
– Control the scent: DIY candles allow you to adjust the fragrance intensity.
– Cost-effective: Making your own candle saves money compared to buying one.
– Safety: Homemade pine candles using beeswax or soy wax are safer than paraffin-based ones.
– Customization: You can experiment with different scents and colors.
To make your pine scented candle, follow these steps: melt the wax, add fragrance, dye the wax, and assemble. Remember these tips: choose the right wick, keep notes, experiment with wax, use crayons for dye, and allow sufficient drying time.
Some frequently asked questions are: can pine cones be used in candles, what temperature should soy wax be melted at, and what can be used as a candle container.
Melt the Wax for Your Pine Scented Candle
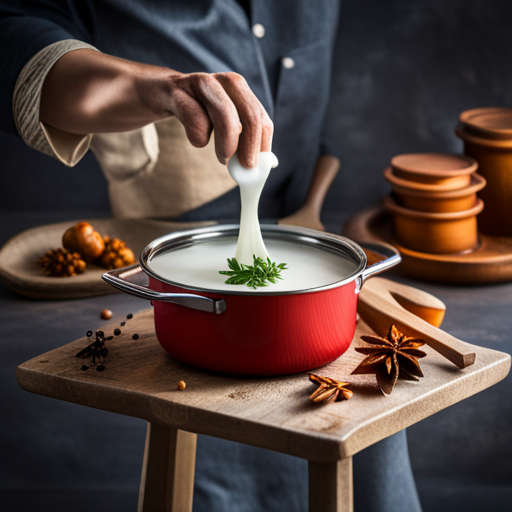
To begin melting the wax for your pine-scented candle, heat and melt the soy wax chips in a pot. Place the pot on the stove and turn the heat to low. Add the soy wax chips and stir them occasionally with a wooden stick until they are completely melted. This process usually takes about 10-15 minutes.
Once the wax is melted, remove the pot from the heat and let it cool for a few minutes. This will ensure that the wax is at the right temperature before adding the fragrance. Remember to always handle hot wax with caution to avoid any accidents.
Now that your wax is melted and ready, you can move on to the next step in making your pine-scented candle.
Add Fragrance to Your Pine Scented Candle
Once the wax is melted and cooled, you can now add the pine scented drops to the melted wax and mix them together. This step is essential to infuse the candle with the refreshing aroma of pine.
Here are some tips to enhance your experience:
– Start with a few drops: Begin by adding a small amount of pine scented oil to the melted wax and gradually increase the intensity according to your preference.
– Stir thoroughly: Use a wooden stick to mix the fragrance into the wax, ensuring an even distribution of scent.
– Smell test: Take a moment to inhale the fragrance and adjust the scent if necessary.
– Be cautious with quantity: Remember that a little goes a long way, so it’s better to start with less and add more if needed.
Enjoy the process of creating your pine scented candle and revel in the delightful scent it will bring to your space.
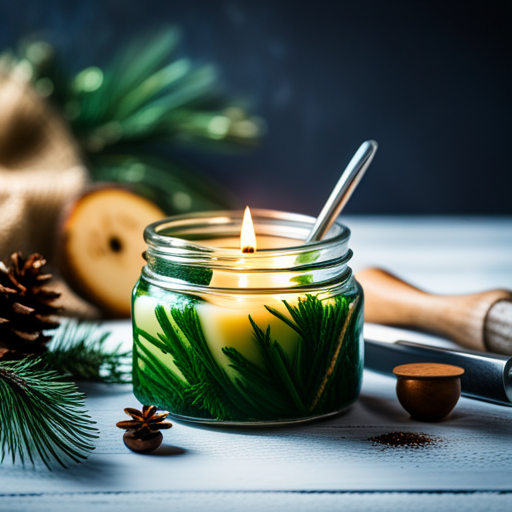
Dye the Wax for Your Pine Scented Candle
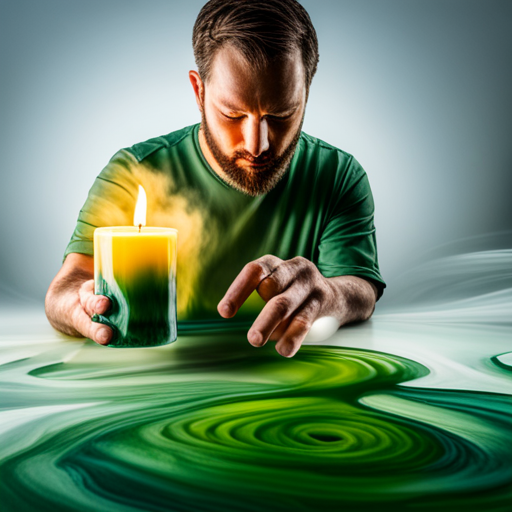
Choose a few drops of green dye to add to one of the bowls of melted wax for your pine scented candle. The green dye will give your candle a vibrant and festive look, reminiscent of a fresh pine tree.
Start by carefully dropping the dye into the bowl of melted wax and stir it well to ensure even distribution. You can adjust the intensity of the color by adding more or fewer drops of dye. Remember, a little goes a long way, so start with a small amount and add more if desired.
Once the dye is fully incorporated, you can proceed with pouring the colored wax into your candle jar. The addition of green dye will enhance the visual appeal of your pine scented candle and bring a touch of nature into your home.
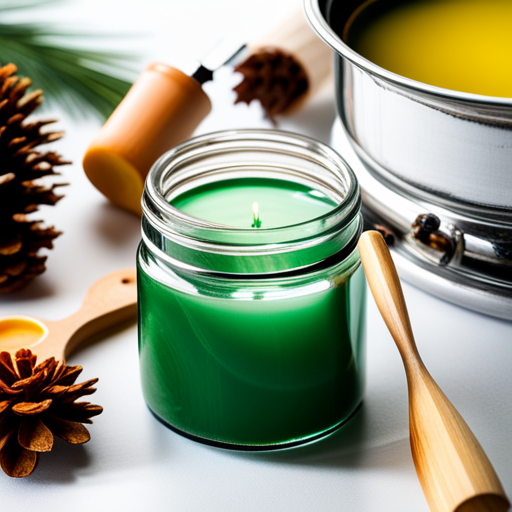
Assembly of Your Pine Scented Candle
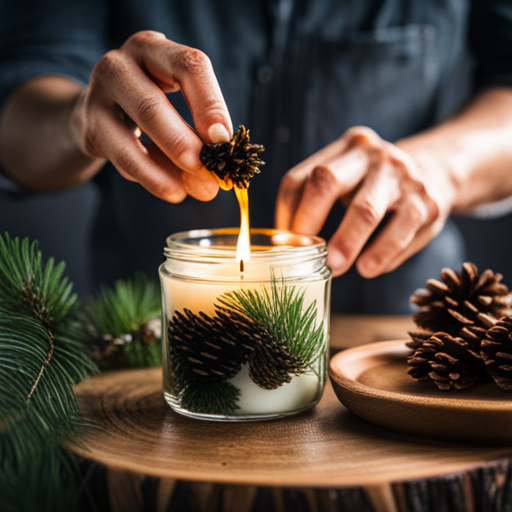
Pour alternating layers of the white and green wax into the candle jar, ensuring that the wick stays in place. This assembly step is crucial to create a beautiful and fragrant pine scented candle.
Here are some tips to help you enjoy the process:
– Take your time: Pour the wax slowly and carefully to create distinct layers.
– Be patient: Allow each layer to cool and harden before pouring the next one.
– Get creative: Experiment with different patterns and designs by varying the thickness of each layer.
– Enjoy the aroma: As you pour the wax, inhale the refreshing scent of pine, and imagine the cozy ambiance your candle will create.
Tips for Making a Pine Scented Candle
Ensure you select the appropriate wick size for your candle’s dimensions and desired fragrance intensity. Choosing the right wick is crucial to ensure a clean and even burn.
A wick that is too small may result in a weak fragrance throw, while a wick that is too large can cause the candle to burn too hot and create soot. Remember to keep notes of the wick size used for each candle to improve future batches.
Additionally, experiment with different types of wax to find the one that holds fragrance the best. Soy wax is recommended for pine scented candles as it has excellent scent retention.
Final Thoughts on Making a Pine Scented Candle
To achieve a personalized touch, you can experiment with different scents and colors when making your own pine scented candle. Here are some final thoughts to consider:
– Simple requirements: You only need soy wax chips, pine scented fragrance oil, a wick, and a candle container to make a pine scented candle.
– Fragrance customization: Don’t be afraid to try different scents to achieve the desired strength and aroma.
– Dye options: You can use special candle tints or even broken crayons to add color to your candle.
– Additional resource: If you want to learn more about the appropriate amount of scent to add to your candles, there are plenty of resources available to guide you.
– Personal satisfaction: Making your own candle can be a truly rewarding experience, allowing you to create something unique and enjoyable for yourself or as a thoughtful gift. Enjoy the process and have fun exploring the world of candle making!
Can I Use the Same Method to Make Chocolate Scented Candles as Pine Scented Candles at Home?
Yes, you can use the same method to make easy chocolate scented candles as pine scented candles at home. Simply substitute the pine essential oil with chocolate fragrance oil. Melt the wax, add the fragrance oil, pour into candle molds, and let it cool. Enjoy the decadent aroma of your homemade chocolate scented candles.
Frequently Asked Questions
How Long Does It Take for the Pine Scented Candle to Fully Dry Before Lighting?
Before lighting your pine scented candle, allow it to fully dry for at least a day. This ensures proper drying, prevents color bleeding, and promotes a clean burn. Enjoy your homemade creation!
Can I Use Essential Oils Instead of Pine Scented Fragrance Oil?
Yes, you can use essential oils instead of pine scented fragrance oil to make a pine scented candle. Simply mix the essential oil into the melted wax according to your desired strength of fragrance.
What Is the Best Type of Wick to Use for a Pine Scented Candle?
The best type of wick to use for a pine scented candle depends on the candle’s dimensions and desired fragrance intensity. Choose a wick size that suits your needs and ensures a proper burn.
Can I Use a Different Type of Wax, Such as Beeswax, Instead of Soy Wax?
Yes, you can use beeswax instead of soy wax for a pine scented candle. Beeswax is a natural alternative that can produce a lovely scent and is considered safer than paraffin-based candles.
How Long Does the Pine Scent Typically Last in the Candle?
The pine scent in the candle typically lasts for several weeks, depending on the quality of the fragrance oil used. You can enhance the longevity by using a higher concentration of pine scented drops.