The process starts with measuring and melting the wax, ensuring accurate measurements and a smooth consistency. Then, add color to the wax using red dye for a vibrant effect.
The swirling technique involves using a spoon and a glass container to create beautiful patterns by rotating the glass. Once you master the technique, you can experiment with different colors and designs.
Swirl candles are a fun and creative project for anyone interested in candle making, and they make great gifts or decorations.
Key Takeaways
– The ingredients needed for making swirl candles include KeraSoy 4130 container wax, fragrance oils, candy cane swirl dye, glue dots, pouring jug, weighing scales, heat gun or hair dryer, and a container.
– Proper measurement and melting of the wax is crucial for the quality of the candle. It is important to weigh the wax accurately and melt it using a microwave oven or stovetop burner, stirring it every few minutes to avoid burning.
– Adding color to the wax can be done by mixing red dye directly into the wax or in the pouring jug. Stir the mixture slowly until the dye is completely mixed, and save some wax for later use.
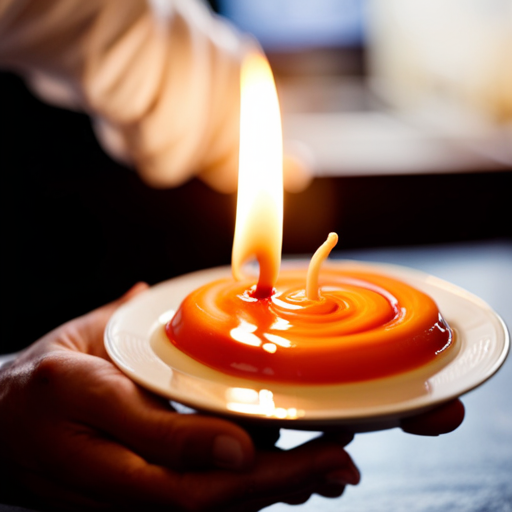
– The swirling technique involves using a spoon and a glass container. Melt red wax and scoop some onto the bottom of the container, then rotate the glass slowly to let the wax fall and create a swirling pattern. Once the technique is mastered, one can experiment with different colors and designs.
Selecting the Right Wax

https://www.youtube.com/watch?v=tefcS4jURNs
The crafter selects a KeraSoy 4130 container wax made from soybean oil for making swirl candles. This specific wax is chosen because it is known for its excellent container adhesion and smooth finish. The soybean oil base also ensures a cleaner burn and reduces soot production.
The crafter understands the importance of using a high-quality wax that will hold its shape and allow for easy swirling. By selecting the KeraSoy 4130, they can confidently create beautiful and visually appealing swirl candles. This wax also provides a great canvas for adding colors and fragrances, allowing the crafter to unleash their creativity and create unique designs.
Overall, the choice of wax plays a crucial role in the success of making swirl candles.
Essential Tools and Supplies
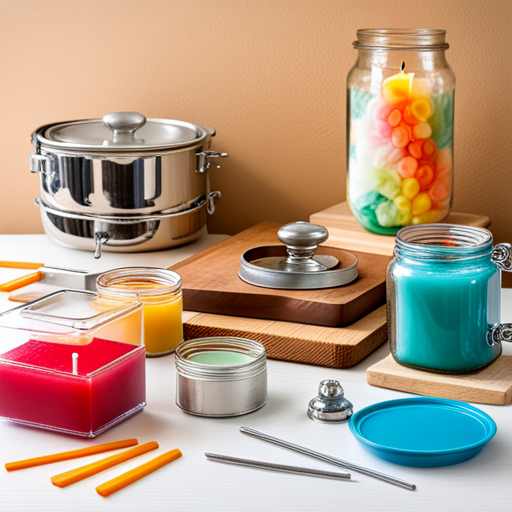
To create swirl candles, one needs essential tools and supplies. These include KeraSoy 4130 container wax, fragrance oils, candy cane swirl dye, glue dots, a pouring jug, weighing scales, a heat gun or hair dryer, and a container.
The KeraSoy 4130 container wax is specifically designed for containers and provides a smooth and even burn. Fragrance oils add pleasant aromas to the candles, while the candy cane swirl dye adds vibrant colors and visual appeal.
Glue dots are used to secure the wick in place, ensuring that it stays centered as the candle burns. A pouring jug is necessary for pouring the melted wax into the container, and weighing scales help in accurately measuring the wax.
Lastly, a heat gun or hair dryer can be used to create unique swirl patterns on the surface of the candle.
Measuring and Melting the Wax
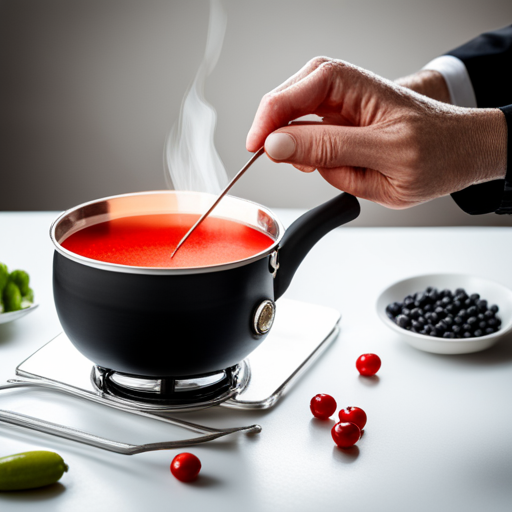
Measuring and melting the wax requires accurate measurement using a digital scale and melting it in a microwave oven or stovetop burner. To ensure proper candle quality, it is important to weigh the wax using a digital scale.
Start by pouring enough wax to cover the bottom of the container. Then, weigh out 160 grams of wax and pour it into a melting pan. Leftover wax at the top of the container won’t affect the candle.
Melting the wax is a necessary step before making the candle, as a melted wax consistency is needed for pouring into the mold. Stir the wax every few minutes to avoid burning and to ensure a smooth and even candle surface.
Adding Vibrant Colors

Adding vibrant colors to candles can enhance their visual appeal. This can be achieved by mixing dye directly into the wax or in the pouring jug. By adding dye, candles can be transformed into beautiful works of art. Whether it’s a single color or a combination of hues, vibrant colors add a touch of personality and style to the finished product.
Mixing the dye directly into the wax ensures that the color is evenly distributed throughout the candle. This creates a consistent and eye-catching look. On the other hand, adding the dye in the pouring jug allows for more control over the intensity of the color.
Whichever method is chosen, the result is a stunning and visually appealing candle. These candles are sure to catch the eye of anyone who sees them.
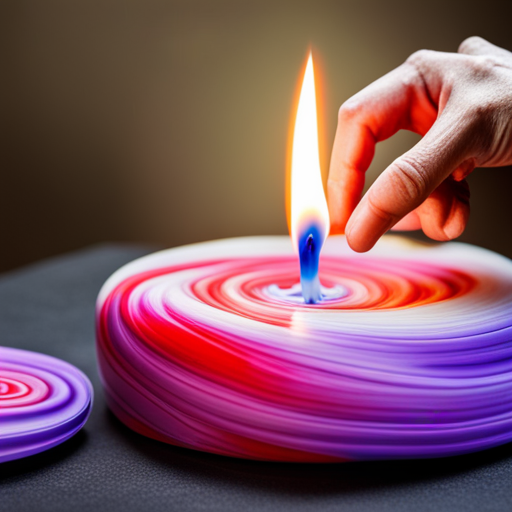
Mastering the Swirling Technique
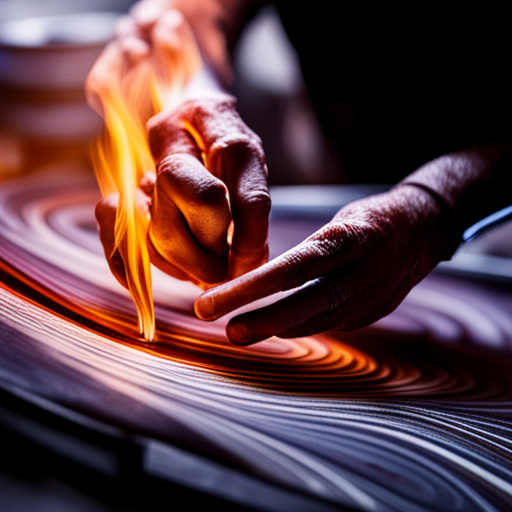
The swirling technique can be mastered by slowly rotating the glass container and allowing the melted wax to fall and create a mesmerizing pattern. Here are four steps to help you perfect this technique:
1. Prepare the wax: Use a spoon to scoop melted wax onto the bottom of the container.
2. Rotate slowly: Gently turn the glass container in a circular motion, allowing the wax to cascade and form beautiful swirls.
3. Experiment with colors: Try using different colored waxes to create unique designs and combinations.
4. Practice makes perfect: Keep practicing the swirling technique to improve your skills and create stunning swirl candles.
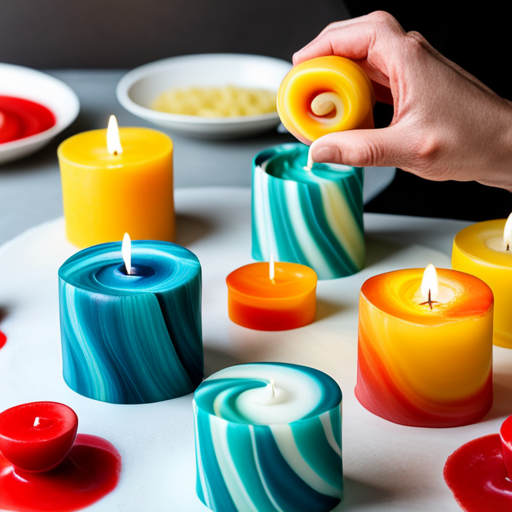
Experimenting With Different Designs
To create unique designs and combinations, candle makers can experiment with different colored waxes when mastering the swirling technique. By using a variety of colors, they can create stunning patterns and effects in their candles.
For example, combining shades of blue and green can create a beautiful ocean-inspired swirl, while using vibrant reds and oranges can evoke a fiery and dramatic effect. Candle makers can also play with the intensity and placement of the colors to achieve different looks.
Whether they choose to blend colors together or create distinct layers, the possibilities are endless. The key is to have fun and explore different color combinations to create truly eye-catching and one-of-a-kind swirl candles.
Cooling and Finishing the Swirl Candles
After experimenting with different designs for their swirl candles, the next step is to focus on cooling and finishing the candles. This crucial stage ensures that the candles set properly and have a polished look. Here are the steps to follow:
1. Allow the candles to cool naturally: Once the swirling pattern is created, it’s important to let the candles cool down completely. This can take several hours, so patience is key.
2. Trim the wick: After the candles have cooled, trim the wick to about 1/4 inch. This helps the candle to burn evenly and prevents excessive smoke.
3. Clean the container: If there is any excess wax or residue on the container, gently clean it using warm soapy water. This will give the candles a professional finish.
4. Package and enjoy: Once the candles are cooled, trimmed, and the containers are clean, they are ready to be packaged or displayed. Enjoy the beautiful swirl candles or give them as thoughtful gifts to loved ones.
Tips and Troubleshooting for Swirl Candle Making
When making swirl candles, beginners can benefit from these helpful tips and troubleshooting advice.
First, it’s important to choose the right wax for swirling, such as a soy-based container wax like KeraSoy 4130.
Next, ensure accurate measurement and melting of the wax to achieve the desired consistency for pouring. Stirring the wax regularly during the melting process will prevent burning.
Adding color to the wax is another key step in creating beautiful swirl candles. Experiment with different colors and designs once you’ve mastered the swirling technique.
Finally, be patient and allow the candles to cool and finish properly to avoid any imperfections.
Following these tips will help beginners create stunning swirl candles with ease.
Can I Use the Same Steps for Making Swirl Candles to Make Colored Scented Candles?
Yes, the same steps for making swirl candles can be used to make colored scented candles. To incorporate the scent, add the fragrance oil into the melted wax before pouring it into the mold. Use the same swirling technique, but with colored wax for a beautiful, fragrant result. Try this colored scented candles tutorial for a unique take on homemade candles.
Frequently Asked Questions
How Long Does It Take for the Swirl Candles to Cool and Finish?
Swirl candles typically take a few hours to cool and finish. The exact time can vary depending on factors such as the size of the candle and the temperature of the surrounding environment.
What Are Some Troubleshooting Tips for Swirl Candle Making?
Some troubleshooting tips for swirl candle making include ensuring the wax is properly melted, using the right amount of dye for desired color intensity, and mastering the swirling technique through practice and experimentation.
Can I Use Any Type of Wax for Making Swirl Candles?
Yes, any type of wax can be used for making swirl candles. The choice of wax depends on personal preference and desired candle qualities. Experiment with different types to find the one that works best for you.
Are There Any Special Tools or Supplies Required for the Swirling Technique?
Yes, there are special tools and supplies required for the swirling technique. Some of them include a spoon, a glass container, and different colors of wax.
Can I Use Natural Dyes Instead of Candy Cane Swirl Dye for Adding Color to the Candles?
Yes, natural dyes can be used instead of candy cane swirl dye to add color to the candles. Experimenting with different dyes can create unique and visually appealing swirl patterns.